


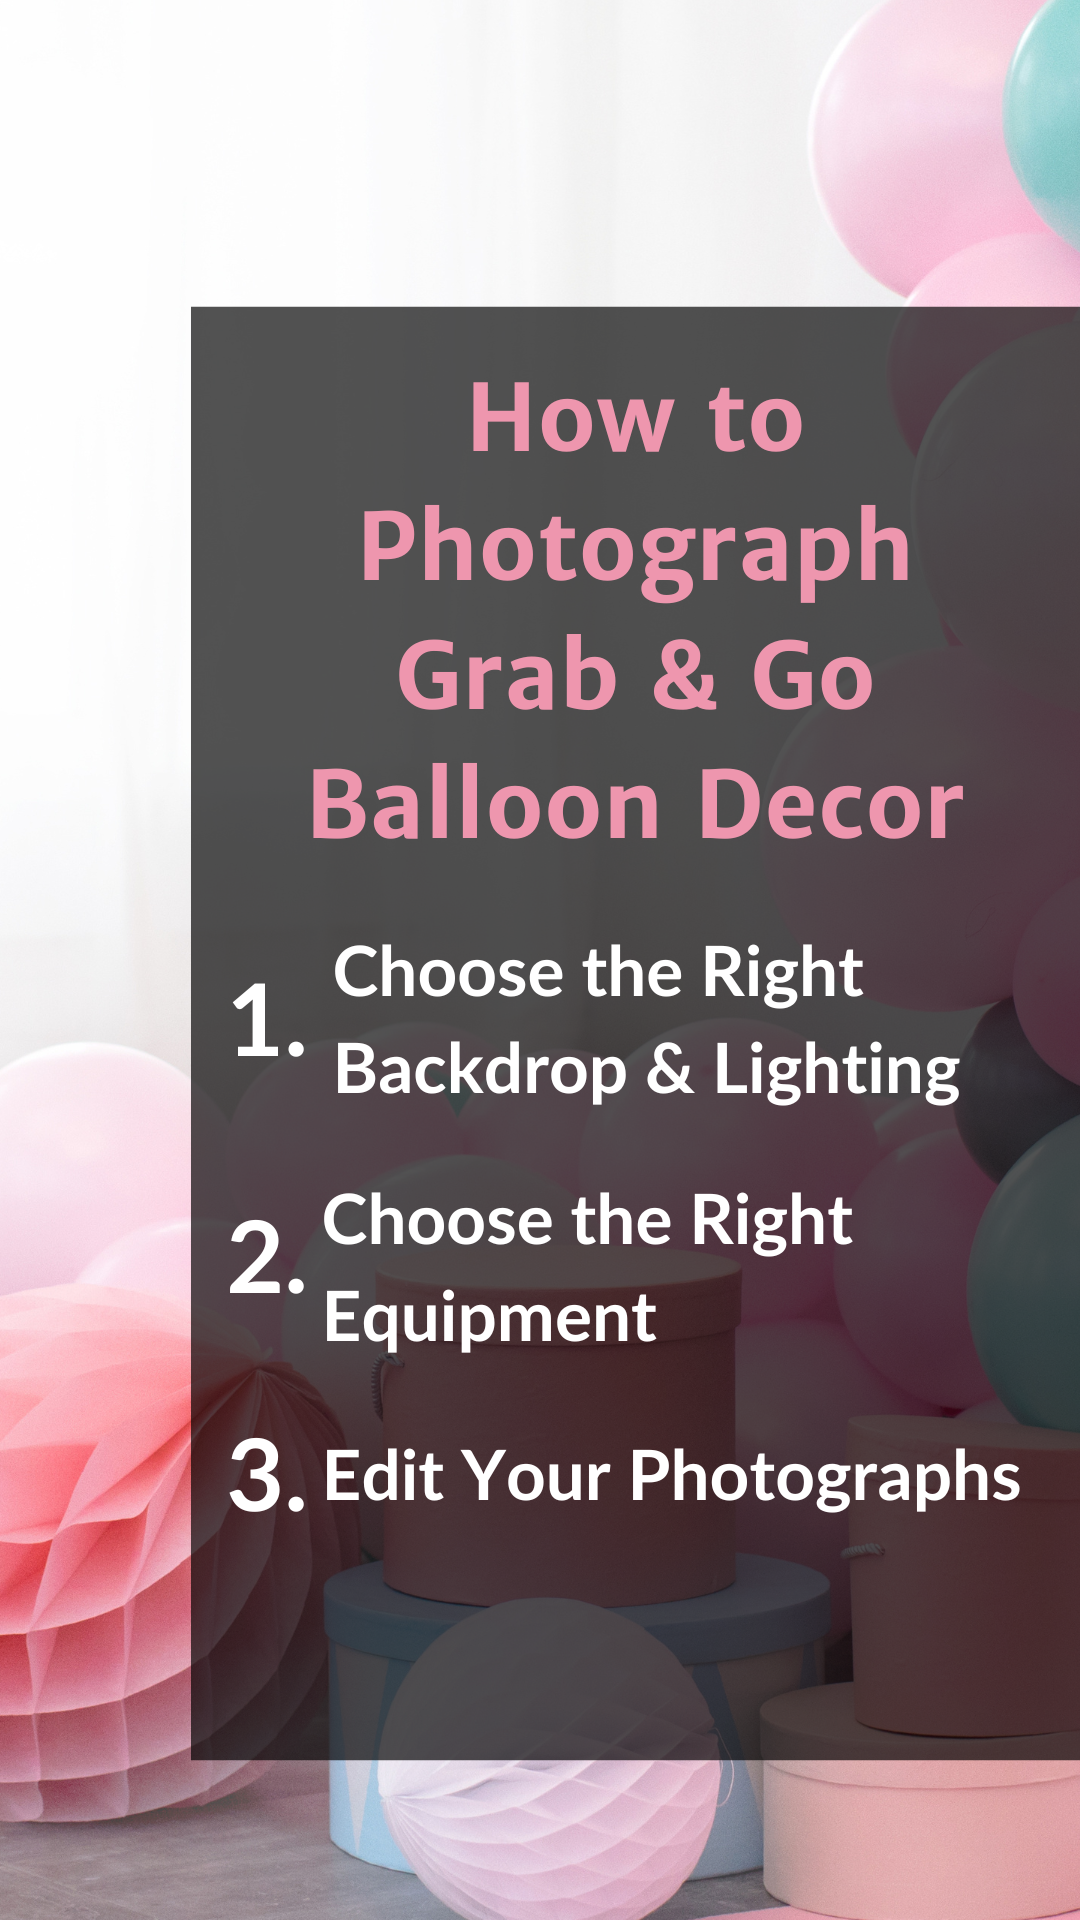
How To Photograph Grab & Go and Delivery Balloon Decor
As a balloon decor business owner, you understand the importance of capturing the beauty and allure of your creations in photographs. Whether you're showcasing your work on your website, social media, or print materials, high-quality pictures can make all the difference. To help you take stunning photographs of your balloon decor for delivery or grab-and-go, we've gathered some expert techniques. So, keep reading to learn everything you need to know about photographing balloons.
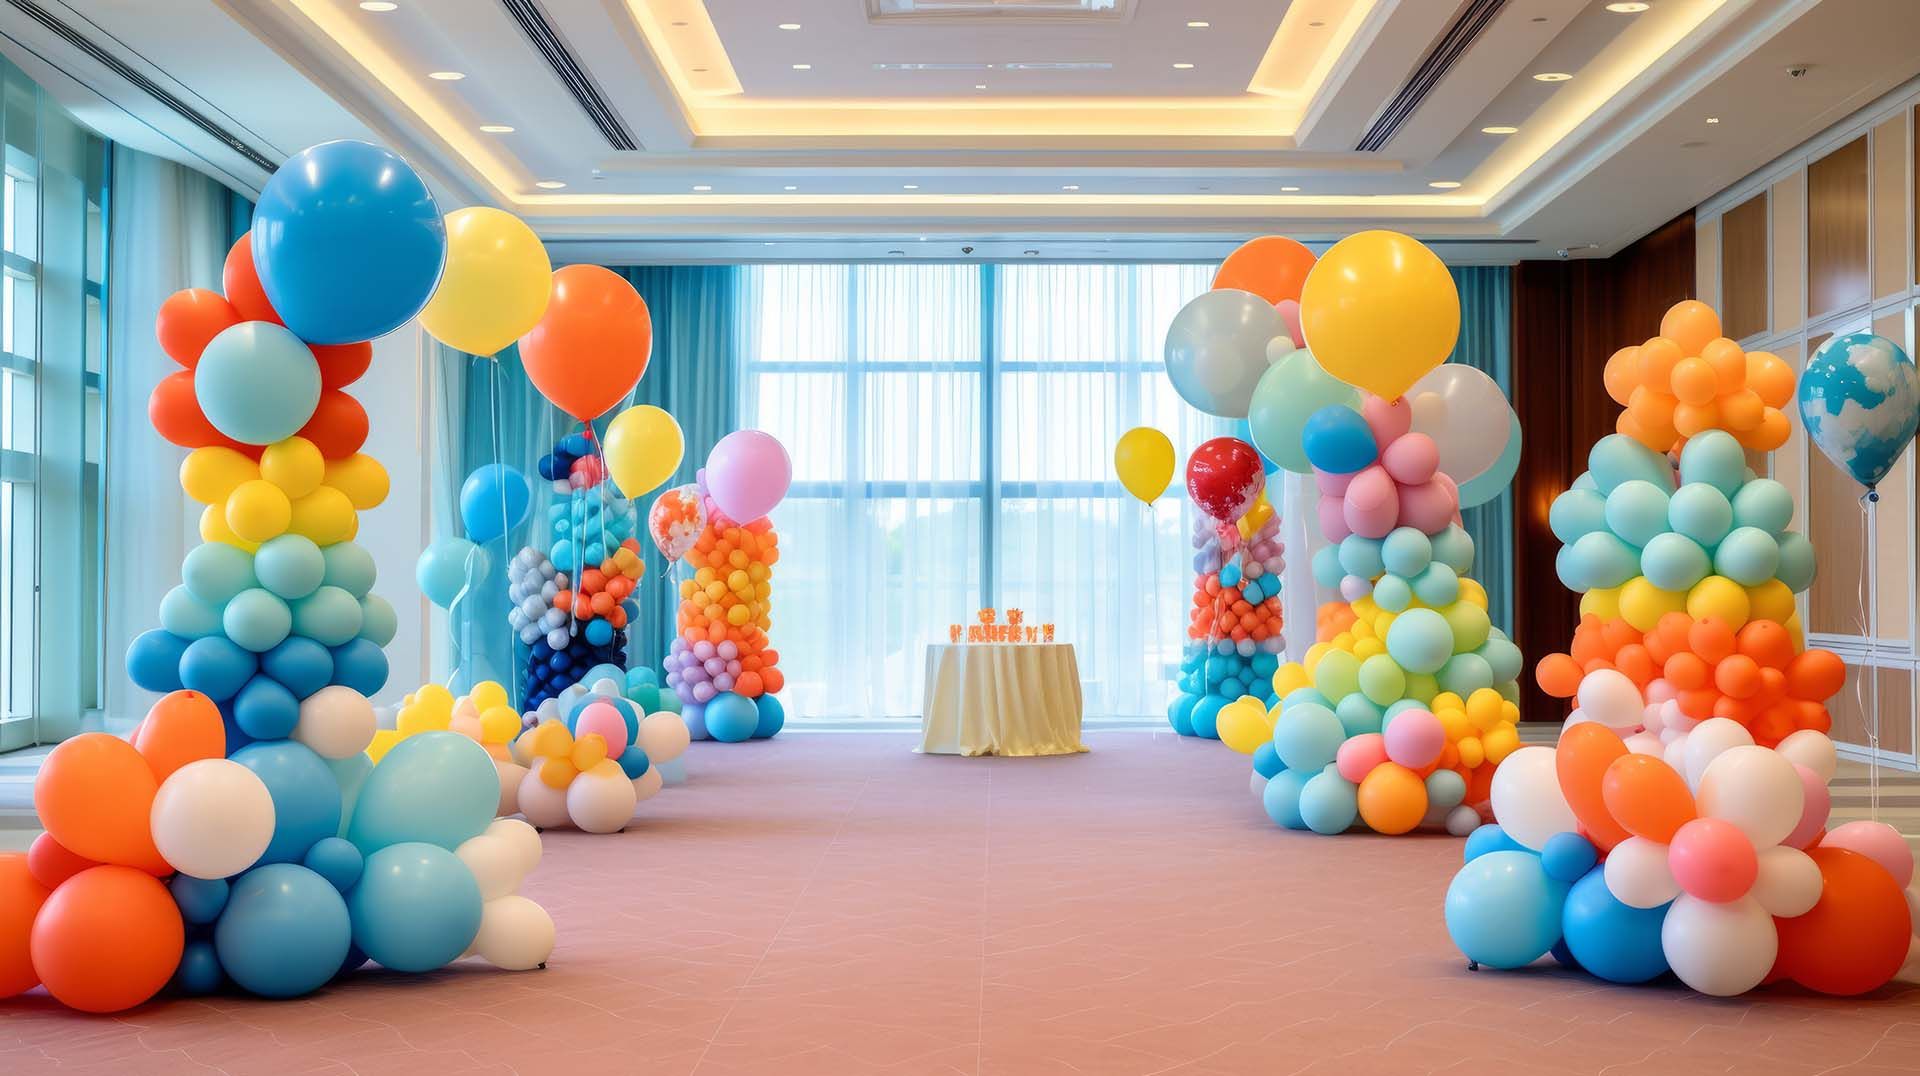
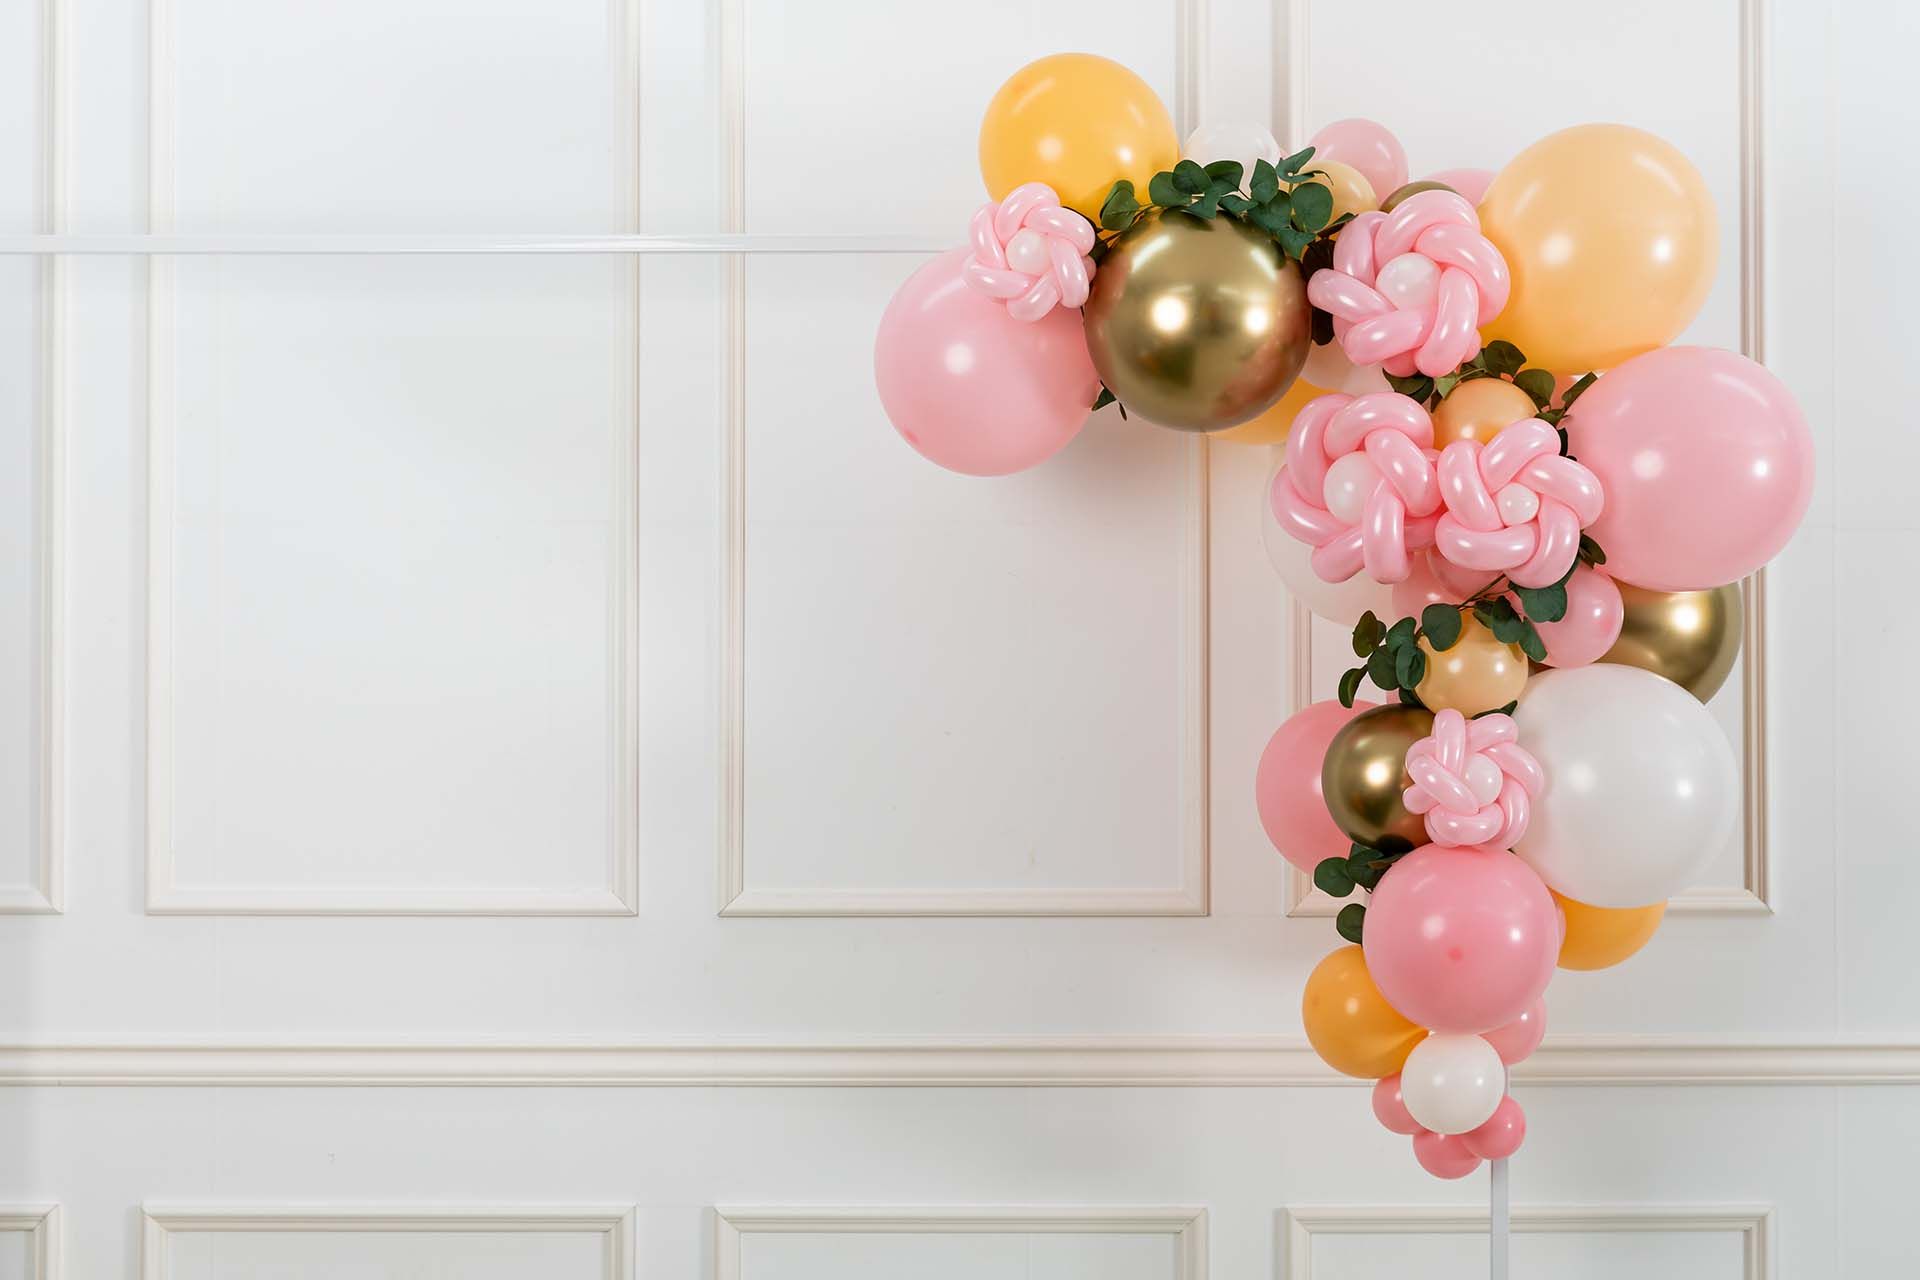
Setting the Scene: Choosing the Right Backdrop
When photographing your balloon decor, the
backdrop you choose can have a significant impact on the overall appeal of your pictures. As a small business owner, investing in a professional roll-up system can be a worthwhile investment. Not only does it provide a seamless and professional background for your photographs, but it also allows you to easily change the background to complement your balloon decor.
Picture Perfect: Editing Your Photographs
Editing your photographs is essential to ensure they look their best. If you’re more on the technical side, you might have already acquired the necessary skills using editing software like Canva or Adobe Photoshop. If not, you should know that these tools can be incredibly helpful when removing the background or adding your preferred color scheme to your pictures. Just make sure not to over-edit your photographs, as it can make them look unnatural and unappealing.
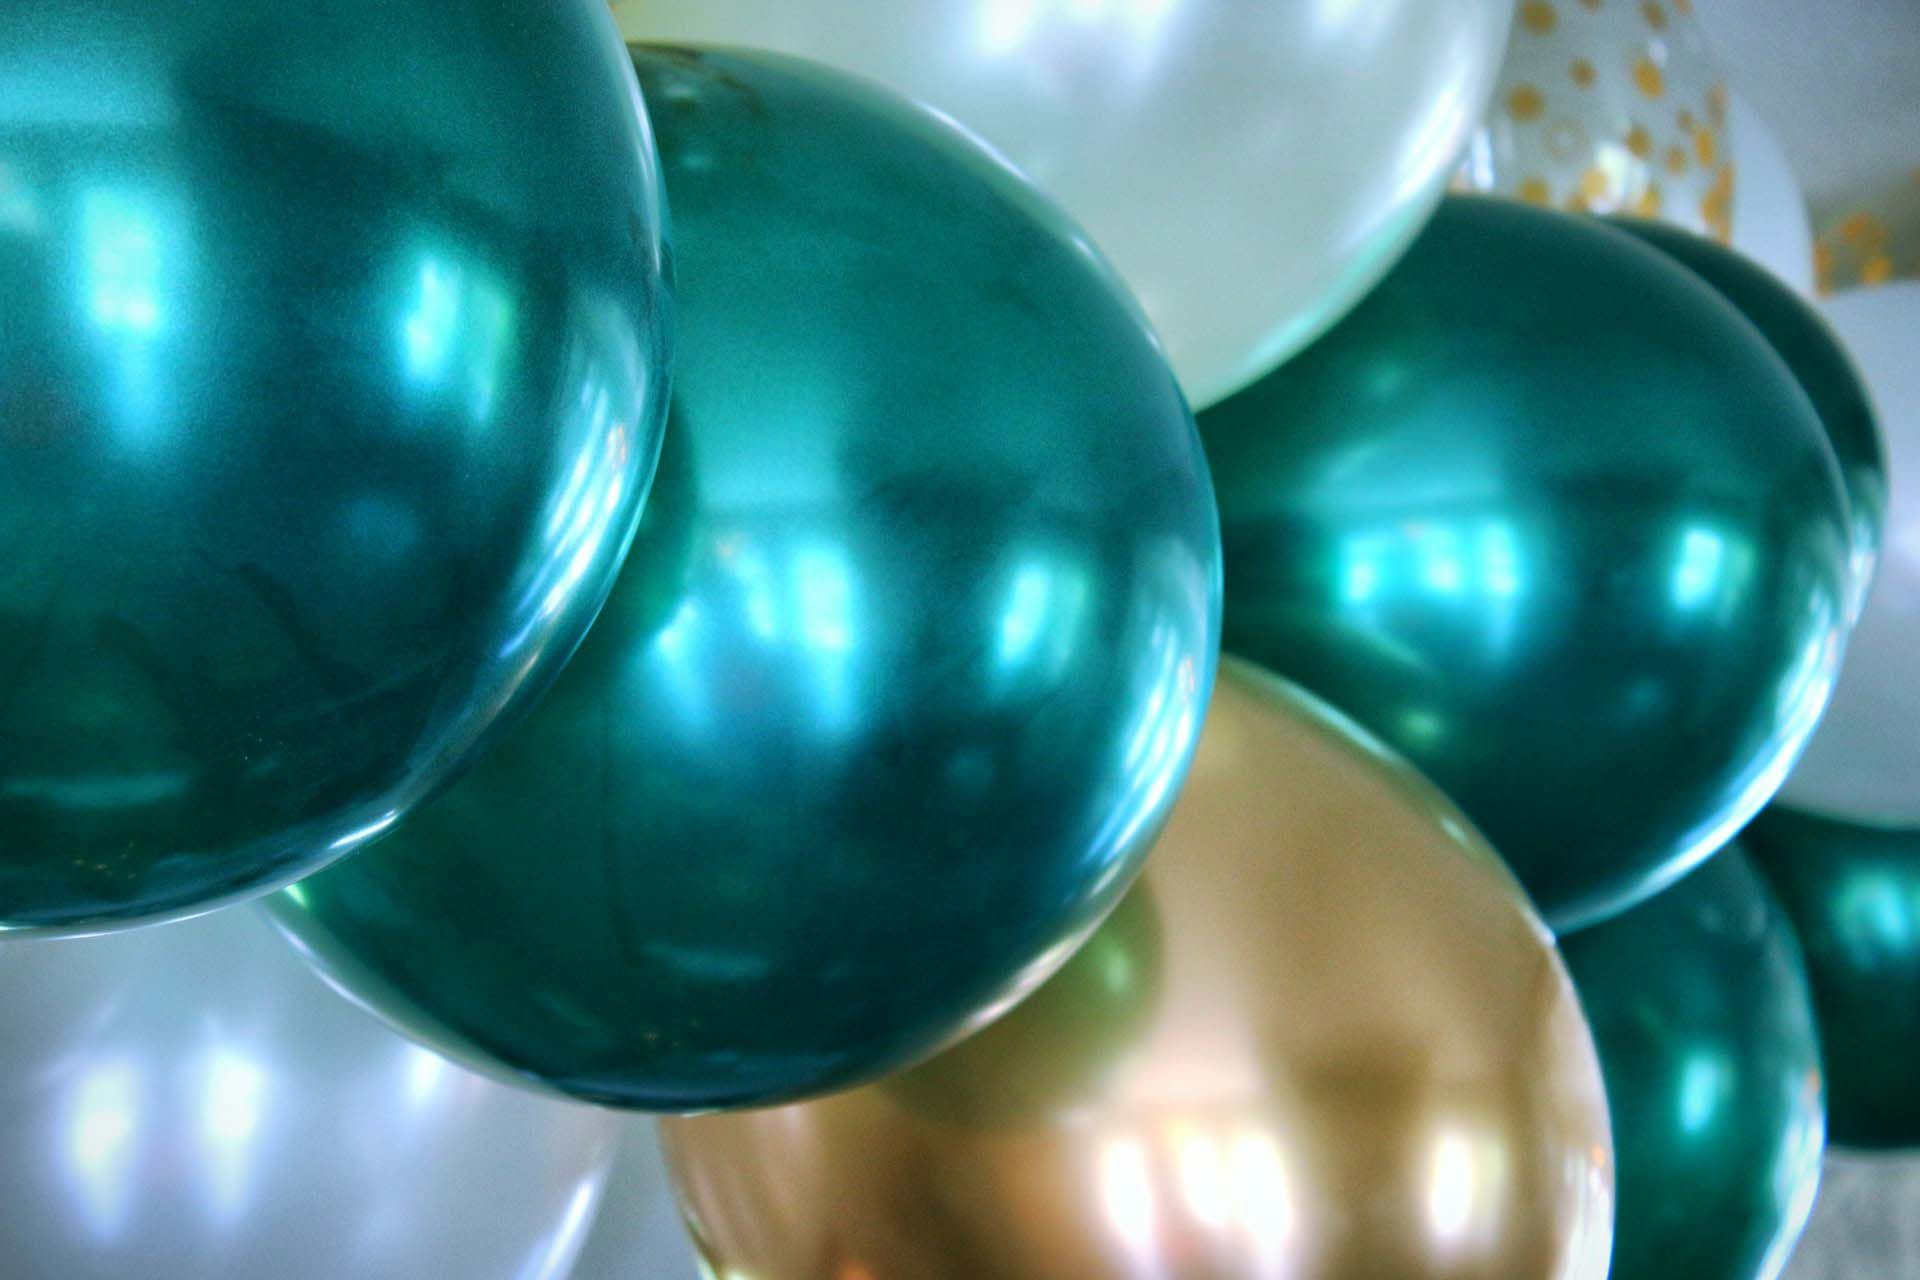
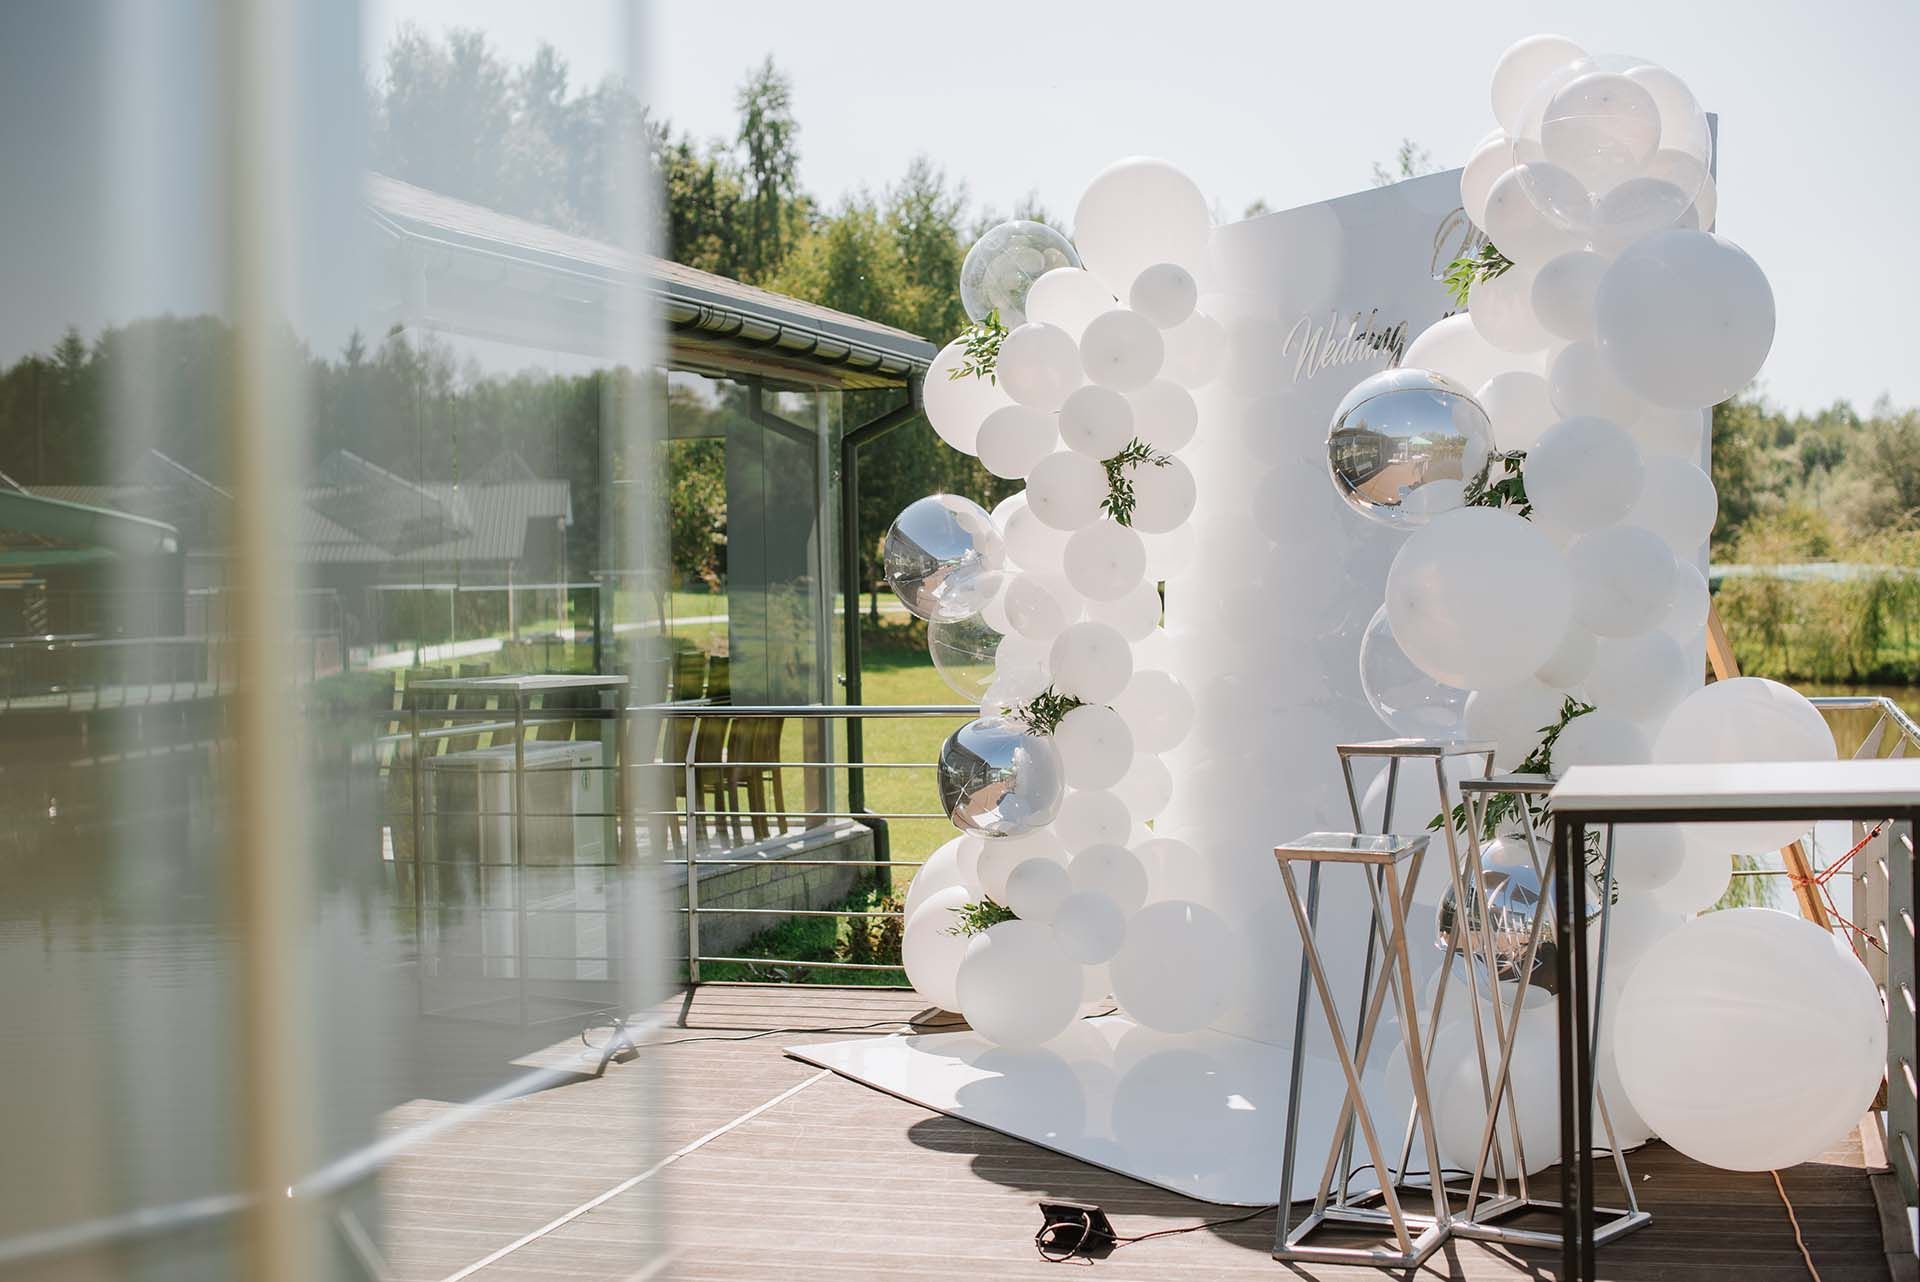
Lighting: The Key to Exceptional Photography
Lighting is another essential element of balloon decor photography. To ensure your pictures are well-lit and capture the true vibrancy of your balloon decor, invest in professional lighting equipment. Video lighting kits from Amazon are an excellent option, as they provide even and diffused light, perfect for photographing shiny surfaces like balloons. Don't forget to experiment with different lighting angles to find the best option for your specific balloon decor.
Choosing the Right Equipment
As someone who is already in the industry, you likely have a variety of equipment at your disposal. However, when it comes to photography, investing in quality equipment can make all the difference. Consider purchasing a high-quality camera and lenses to ensure your pictures are crisp and clear. Additionally, a tripod can be beneficial in keeping your camera steady and avoiding blurry pictures.
Taking the Perfect Shot
Once you have everything set up, it's time to take the perfect shot. As a creative person, you likely have a keen eye for composition and detail. So, use it and experiment with different angles, arrangements, and backgrounds to find the best option for your specific balloon decor. And don't forget to take multiple shots from different perspectives to ensure you capture every aspect of your creations.
How to Get Started
So, where do you start? To begin, consider investing in a professional roll-up system and high-quality lighting equipment. These tools can make all the difference in the quality of your photographs and help showcase the beauty of your balloon decor. As we discussed, don't be afraid to experiment with different backdrops, lighting angles, and arrangements until you find the perfect shot. These pro tips and tricks can equip you with the know-how to create captivating visuals that have the ability to entice prospective customers and take your balloon decor business to the next level! So, get started today!
Mini FAQs: Grab & Go Balloon Decor
Disclaimer: This publication and the information included in it are not intended to serve as a substitute for consultation with business consultants and professionals. Specific business, financial, legal issues, concerns and conditions always require the advice of appropriate professionals. Any opinions expressed are solely those of the participant and do not represent the views or opinions of Balloon Suite.